Marbled Vanilla Chocolate Cake
Highlighted under: Home-Style Dessert Bakes
When I first baked this Marbled Vanilla Chocolate Cake, I was amazed by how beautifully the vanilla and chocolate intertwine, creating a stunning visual treat. The rich, moist cake balances the deep chocolate flavor with the light and airy vanilla. It’s perfect for any occasion, be it a birthday gathering or an afternoon indulgence with friends. I love how straightforward the recipe is while delivering an impressive dessert that never fails to impress. It’s a cake that brings smiles and satisfaction with every forkful!
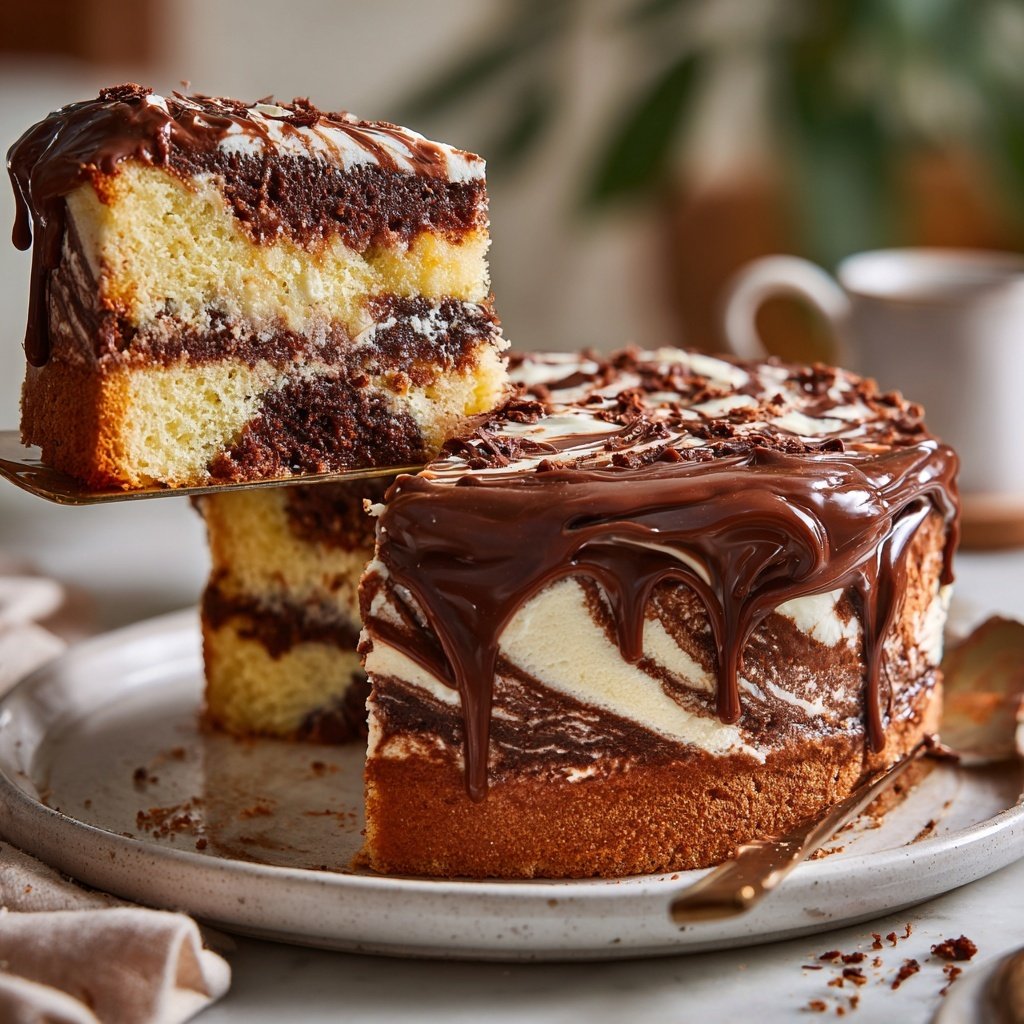
Baking is a form of expression for me, and creating this Marbled Vanilla Chocolate Cake felt like an artistic endeavor. The swirling patterns formed by the two batters not only looked fantastic, but the mix of flavors was pure joy. Originally, I thought marbling would be tricky, but I discovered that a simple swirl technique with a knife makes all the difference in achieving those beautiful streaks.
One memorable moment was sharing this cake with friends at a weekend brunch. As they sliced into it, the marbled effect captivated them. I learned that the key to a moist texture lies in not overmixing the batter. This cake is now a favorite, and I often find myself making it for special gatherings and get-togethers!

Why You'll Love This Cake
- Gorgeous marbled appearance that impresses every time
- Delicious balance of rich chocolate and light vanilla
- Moist and tender crumb that melts in your mouth
- Perfect for birthdays, celebrations, or a sweet personal treat
Understanding the Ingredients
This Marbled Vanilla Chocolate Cake features a harmonious blend of ingredients that each play a vital role in achieving the cake's delightful texture. For instance, unsalted butter is preferred here as it allows you to control the salt content, ensuring a balanced flavor. The combination of baking powder and the light air incorporated during creaming lends to a tender and airy crumb, crucial for achieving that melt-in-your-mouth experience. Each egg also contributes necessary moisture and structure, so it's vital to use fresh, high-quality eggs for best results.
The cocoa powder not only brings rich chocolate flavor but also adds to the cake's texture and moisture. Dutch-processed cocoa can be used if you prefer a smoother, less acidic taste, while natural cocoa can enhance the cake's leavening action. Furthermore, the choice of milk impacts the overall moisture content and flavor profile; full-fat milk contributes a creamier texture, whereas low-fat milk will produce a slightly denser cake.
Techniques for Perfect Marble Swirls
Achieving that stunning marbled effect requires a gentle hand but rewards you with a show-stopping presentation. When you spoon the dollops of the vanilla and chocolate batters into the prepared pans, try to keep them in distinct pools rather than mixing them at this stage. A simple kitchen knife or toothpick works beautifully for swirling, but ensure that you don’t over-mix. The goal is to maintain the separation of the two batters while creating a beautiful pattern; too much stirring will lead to a muddy appearance and a loss of visual appeal.
After swirling, it’s crucial to keep an eye on the baking time. Ovens can vary significantly in temperature, so always start checking for doneness at the minimum time range, around 35 minutes. Look for a cake that is springy to the touch and a toothpick that comes out clean or with a few moist crumbs, but no wet batter. It’s better to slightly underbake as the cakes will continue to cook slightly from residual heat during cooling.
Ingredients
Gather all your ingredients before you start to make the process smooth and easy.
For the Cake
- 2 cups all-purpose flour
- 1 1/2 teaspoons baking powder
- 1/2 teaspoon salt
- 1 cup unsalted butter, softened
- 1 1/2 cups granulated sugar
- 4 large eggs
- 2 teaspoons vanilla extract
- 1/2 cup unsweetened cocoa powder
- 1 cup milk
Make sure all ingredients are at room temperature for the best results.
Instructions
Preheat your oven and prepare your baking pans to avoid any last-minute rush.
Prepare the Oven and Pans
Preheat your oven to 350°F (175°C). Grease and flour two 9-inch round cake pans and set aside.
Mix Dry Ingredients
In a medium bowl, whisk together the flour, baking powder, and salt. Set this mixture aside for later.
Cream Butter and Sugar
In a large mixing bowl, cream the softened butter and granulated sugar together until light and fluffy, about 3-5 minutes.
Add Eggs and Vanilla
Add eggs one at a time, mixing well after each addition. Stir in the vanilla extract.
Combine Dry and Wet Ingredients
Gradually add the dry ingredient mixture to the butter mixture, alternating with milk, starting and ending with the dry ingredients. Mix until just combined.
Create Chocolate Batter
Divide the batter in half. To one half, add cocoa powder and mix until fully incorporated.
Marble the Batter
Spoon alternating dollops of vanilla and chocolate batter into the prepared pans. Use a knife or toothpick to gently swirl the batters together for a marbled effect.
Bake the Cakes
Bake in the preheated oven for 35-40 minutes or until a toothpick inserted in the center comes out clean.
Cool and Serve
Let the cakes cool in the pans for 10 minutes, then transfer to wire racks to cool completely before frosting or serving.
Don't forget to enjoy your creation and share it with loved ones!
Pro Tips
- To achieve an even more pronounced marbling effect, try rotating the pan as you swirl the batter. Additionally, ensure your ingredients are at room temperature for optimal mixing.
Storing and Serving
Once your cakes are completely cooled, they can be stored in an airtight container at room temperature for up to three days. If you want to extend their freshness, consider wrapping them tightly in plastic wrap and refrigerating for up to a week. For longer storage, freezing the cooled, unfrosted cakes is an excellent choice; they can last up to three months in the freezer. Just remember to let them come to room temperature before frosting to achieve an even spread.
When it comes to serving, the Marbled Vanilla Chocolate Cake pairs wonderfully with a light dusting of powdered sugar or a rich chocolate ganache. If you’re feeling adventurous, slice the cake horizontally to create layers, and add your favorite filling, such as raspberry jam or whipped cream, between the layers for added flavor and texture. Fresh berries are also a delightful addition on the side, balancing the sweetness with a touch of tartness.
Troubleshooting Tips
If you experience any issues with the cake collapsing, it may be due to underbaking or excessive moisture in the batter. Always measure your flour correctly—fluff it first, then spoon and level it in the measuring cup to avoid packing. Should your cakes domed too much, use a serrated knife to level them before frosting. This creates a more stable base and ensures a sophisticated presentation.
Overmixing the batter can lead to denser cakes, so mix only until the ingredients are combined. If you accidentally overdid it, consider cutting the cake into smaller cubes and transforming it into a trifle or cake pops. These alternatives not only help salvage your bake but also offer a fun way to present cake remnants creatively!
Questions About Recipes
→ Can I use different types of flour?
Yes, you can substitute with cake flour for a lighter texture or whole wheat flour for a healthier option, though it will alter the flavor slightly.
→ What frosting pairs best with this cake?
A classic buttercream or cream cheese frosting pairs wonderfully, enhancing the flavors without overpowering them.
→ Can I make this recipe dairy-free?
Certainly! You can substitute butter with a plant-based alternative and use non-dairy milk.
→ How do I store leftovers?
Store any leftovers in an airtight container at room temperature for up to 3 days or in the refrigerator for a week.
Marbled Vanilla Chocolate Cake
Created by: The Tinastastyrecipes Team
Recipe Type: Home-Style Dessert Bakes
Skill Level: Intermediate
Final Quantity: 12 servings
What You'll Need
For the Cake
- 2 cups all-purpose flour
- 1 1/2 teaspoons baking powder
- 1/2 teaspoon salt
- 1 cup unsalted butter, softened
- 1 1/2 cups granulated sugar
- 4 large eggs
- 2 teaspoons vanilla extract
- 1/2 cup unsweetened cocoa powder
- 1 cup milk
How-To Steps
Preheat your oven to 350°F (175°C). Grease and flour two 9-inch round cake pans and set aside.
In a medium bowl, whisk together the flour, baking powder, and salt. Set this mixture aside for later.
In a large mixing bowl, cream the softened butter and granulated sugar together until light and fluffy, about 3-5 minutes.
Add eggs one at a time, mixing well after each addition. Stir in the vanilla extract.
Gradually add the dry ingredient mixture to the butter mixture, alternating with milk, starting and ending with the dry ingredients. Mix until just combined.
Divide the batter in half. To one half, add cocoa powder and mix until fully incorporated.
Spoon alternating dollops of vanilla and chocolate batter into the prepared pans. Use a knife or toothpick to gently swirl the batters together for a marbled effect.
Bake in the preheated oven for 35-40 minutes or until a toothpick inserted in the center comes out clean.
Let the cakes cool in the pans for 10 minutes, then transfer to wire racks to cool completely before frosting or serving.
Extra Tips
- To achieve an even more pronounced marbling effect, try rotating the pan as you swirl the batter. Additionally, ensure your ingredients are at room temperature for optimal mixing.
Nutritional Breakdown (Per Serving)
- Calories: 350 kcal
- Total Fat: 22g
- Saturated Fat: 13g
- Cholesterol: 85mg
- Sodium: 220mg
- Total Carbohydrates: 40g
- Dietary Fiber: 2g
- Sugars: 25g
- Protein: 4g