Funfetti Graduation Layer Dream
Highlighted under: Home-Style Dessert Bakes
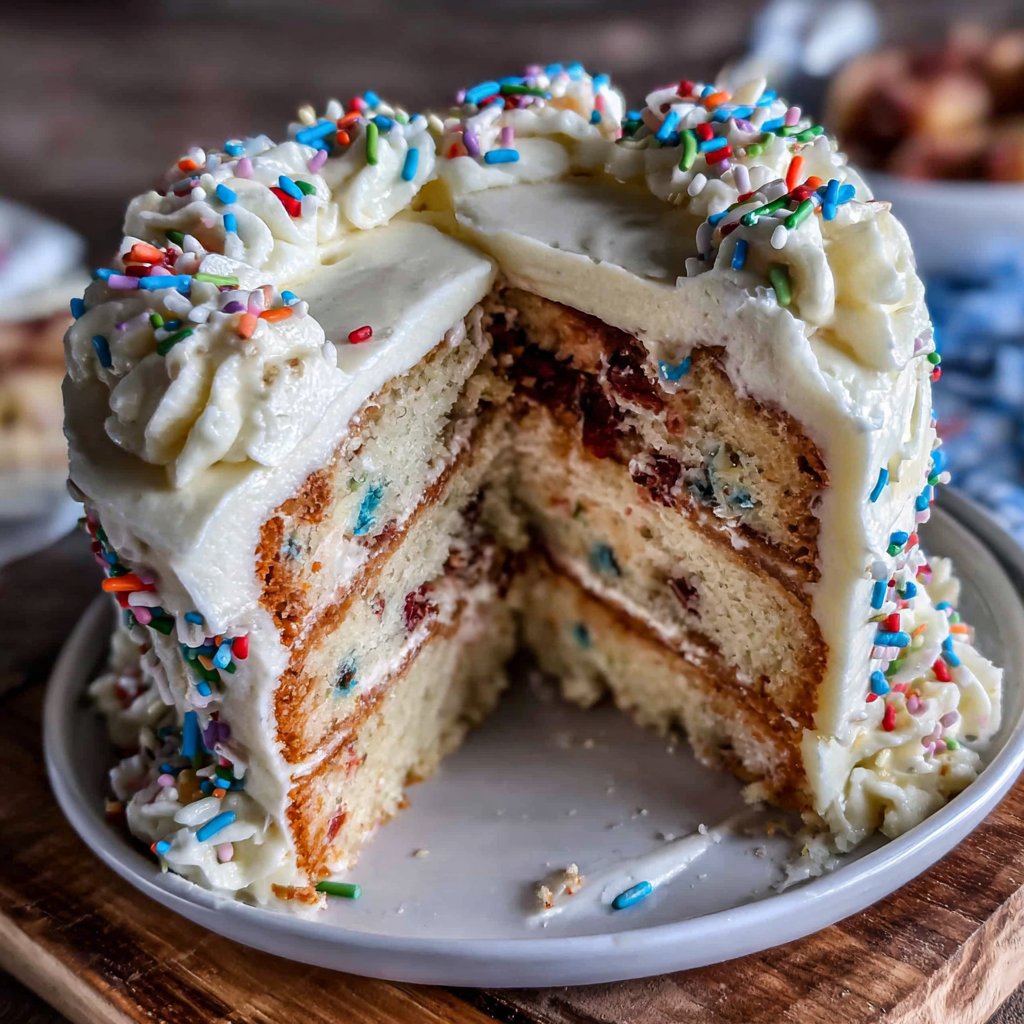
I love celebrating milestones with something special, and this Funfetti Graduation Layer Dream has become a favorite of mine. The vibrant colors and the classic sprinkle funfetti make it not only delicious but also a feast for the eyes. Each layer brings a different texture and flavor that come together harmoniously. Whether it's a graduation or any special occasion, this cake is sure to impress and delight everyone. Get ready to dive into a delightful treat that embodies joy and celebration!

When I first baked this Funfetti Graduation Layer Dream, I wanted to create something that truly captured the spirit of celebration. I experimented with a few cake recipes and ended up with a fluffy vanilla cake that perfectly showcases the colorful sprinkles. The surprise came from the cream cheese frosting, which added a rich, tangy flavor that balanced the sweetness beautifully.
One specific tip I learned while making this cake was to fold the sprinkles into the batter just before pouring it into the pans. This way, they spread evenly throughout the layers, creating that fun burst of color and sweetness in every bite. It not only looks gorgeous but also makes for an unforgettable eating experience!
Why You'll Love This Recipe
- Vibrant and festive with colorful sprinkles
- Moist and fluffy layers that melt in your mouth
- Perfect for celebrating milestones and special occasions
Key Techniques for Success
When making the Funfetti cake, it's crucial not to overmix the batter after adding the flour and milk. Overmixing can lead to a denser cake than desired. Mix just until you see no dry flour peeking through. The light and fluffy texture is achieved by creaming the butter and sugar until pale and fluffy; this usually takes about 3-5 minutes on medium speed.
Another essential technique is ensuring your butter and eggs are at room temperature before you start. This allows for better incorporation and a more uniform batter. If you forget to take them out ahead of time, you can warm eggs in a bowl of hot water for about 10 minutes and soften butter in the microwave for about 10-15 seconds—just until it’s soft but not melted.
Ingredient Insights
Rainbow sprinkles not only add a pop of color to your cake but also contribute texture and a delightful crunch. If you prefer a more classic flavor, consider using mini chocolate chips or even flavored sprinkles to bring a unique twist. However, avoid using nonpareils, as they tend to bleed color and can make your cake look less appealing.
The cream cheese frosting is a wonderful complement to the sweet cake layers. Make sure your cream cheese is well-softened; this prevents lumps in your frosting and helps achieve that smooth, creamy texture. If you want to lighten the frosting, you can experiment with adding a bit of whipped heavy cream to achieve a fluffier consistency without compromising flavor.
Ingredients
Gather these wonderful ingredients to create your Funfetti Graduation Layer Dream:
For the Cake
- 2 1/2 cups all-purpose flour
- 2 1/2 teaspoons baking powder
- 1 teaspoon salt
- 1 cup unsalted butter, softened
- 2 cups granulated sugar
- 4 large eggs
- 1 tablespoon vanilla extract
- 1 cup whole milk
- 3/4 cup rainbow sprinkles
For the Cream Cheese Frosting
- 8 oz cream cheese, softened
- 1/2 cup unsalted butter, softened
- 4 cups powdered sugar
- 1 teaspoon vanilla extract
- 1-2 tablespoons milk (if needed for consistency)
With these ingredients on hand, you're all set to create this delightful cake!
Instructions
Follow these simple steps to bake, assemble, and decorate your Funfetti Graduation Layer Dream:
Prepare the Cake Batter
Preheat your oven to 350°F (175°C). Grease and flour three 9-inch round cake pans. In a bowl, combine flour, baking powder, and salt. In a separate large bowl, cream butter and sugar until light and fluffy. Add eggs one at a time, then stir in vanilla. Gradually mix in dry ingredients and milk until smooth. Gently fold in sprinkles.
Bake the Cakes
Divide the batter evenly among the prepared pans. Bake for 25 minutes, or until a toothpick inserted in the center comes out clean. Let the cakes cool in the pans for 10 minutes, then transfer to wire racks to cool completely.
Make the Frosting
In a mixing bowl, beat together cream cheese and butter until smooth. Gradually add powdered sugar and mix until fluffy. Add vanilla and milk to reach desired consistency.
Assemble the Cake
Once the cakes are cool, place one layer on a serving plate. Spread a layer of frosting on top, then add the second cake layer. Repeat the process with frosting on the second layer and add the final cake layer on top. Frost the top and sides of the cake.
Decorate and Serve
Finish decorating the cake with additional sprinkles on top for a festive look. Slice and serve to enjoy this delightful creation!
With these steps completed, you now have a stunning Funfetti Graduation Layer Dream to celebrate with!
Pro Tips
- For extra fun, use themed sprinkles that match your celebration. You can also substitute part of the milk with buttermilk for an even richer flavor.
Make-Ahead Tips
This Funfetti cake can actually be made ahead of time! Once the cakes are completely cooled, wrap each layer tightly in plastic wrap and store them in the refrigerator for up to three days. This not only makes your party preparations easier but also allows the flavors to meld together perfectly.
If you're looking to freeze the cake, place it in an airtight container or wrap in aluminum foil to avoid freezer burn. The cake layers can be frozen for up to three months. When you're ready to enjoy, just thaw in the refrigerator overnight and frost the next day for a fresh taste.
Serving Suggestions
For an extra touch of elegance when serving, consider adding a drizzle of chocolate or caramel sauce over the top of the frosted cake. This luxurious addition not only enhances the flavor but also makes the presentation even more stunning. You can serve slices alongside fresh whipped cream or a scoop of vanilla ice cream for a delightful contrast in textures.
Feel free to customize toppings based on the occasion. Add edible flowers for a summer graduation or metallic stars for a more formal event. This way, your Funfetti Graduation Layer Dream can be uniquely suited to every celebration, making it not just a cake, but a centerpiece of festivity.
Questions About Recipes
→ Can I make this cake in advance?
Yes, you can bake the cakes a day ahead and store them wrapped in plastic wrap in the refrigerator. Frost them on the day you plan to serve.
→ What can I use instead of cream cheese in the frosting?
You can use mascarpone cheese or a buttercream frosting if you prefer a different flavor.
→ Can I use gluten-free flour?
Yes, you can substitute gluten-free flour on a 1:1 basis, but ensure the baking powder is also gluten-free.
→ How do I store leftover cake?
Store leftover cake in an airtight container in the refrigerator for up to 4 days.
Funfetti Graduation Layer Dream
Created by: The Tinastastyrecipes Team
Recipe Type: Home-Style Dessert Bakes
Skill Level: Intermediate
Final Quantity: 12 servings
What You'll Need
For the Cake
- 2 1/2 cups all-purpose flour
- 2 1/2 teaspoons baking powder
- 1 teaspoon salt
- 1 cup unsalted butter, softened
- 2 cups granulated sugar
- 4 large eggs
- 1 tablespoon vanilla extract
- 1 cup whole milk
- 3/4 cup rainbow sprinkles
For the Cream Cheese Frosting
- 8 oz cream cheese, softened
- 1/2 cup unsalted butter, softened
- 4 cups powdered sugar
- 1 teaspoon vanilla extract
- 1-2 tablespoons milk (if needed for consistency)
How-To Steps
Preheat your oven to 350°F (175°C). Grease and flour three 9-inch round cake pans. In a bowl, combine flour, baking powder, and salt. In a separate large bowl, cream butter and sugar until light and fluffy. Add eggs one at a time, then stir in vanilla. Gradually mix in dry ingredients and milk until smooth. Gently fold in sprinkles.
Divide the batter evenly among the prepared pans. Bake for 25 minutes, or until a toothpick inserted in the center comes out clean. Let the cakes cool in the pans for 10 minutes, then transfer to wire racks to cool completely.
In a mixing bowl, beat together cream cheese and butter until smooth. Gradually add powdered sugar and mix until fluffy. Add vanilla and milk to reach desired consistency.
Once the cakes are cool, place one layer on a serving plate. Spread a layer of frosting on top, then add the second cake layer. Repeat the process with frosting on the second layer and add the final cake layer on top. Frost the top and sides of the cake.
Finish decorating the cake with additional sprinkles on top for a festive look. Slice and serve to enjoy this delightful creation!
Extra Tips
- For extra fun, use themed sprinkles that match your celebration. You can also substitute part of the milk with buttermilk for an even richer flavor.
Nutritional Breakdown (Per Serving)
- Calories: 380 kcal
- Total Fat: 26g
- Saturated Fat: 15g
- Cholesterol: 195mg
- Sodium: 85mg
- Total Carbohydrates: 32g
- Dietary Fiber: 3g
- Sugars: 24g
- Protein: 6g