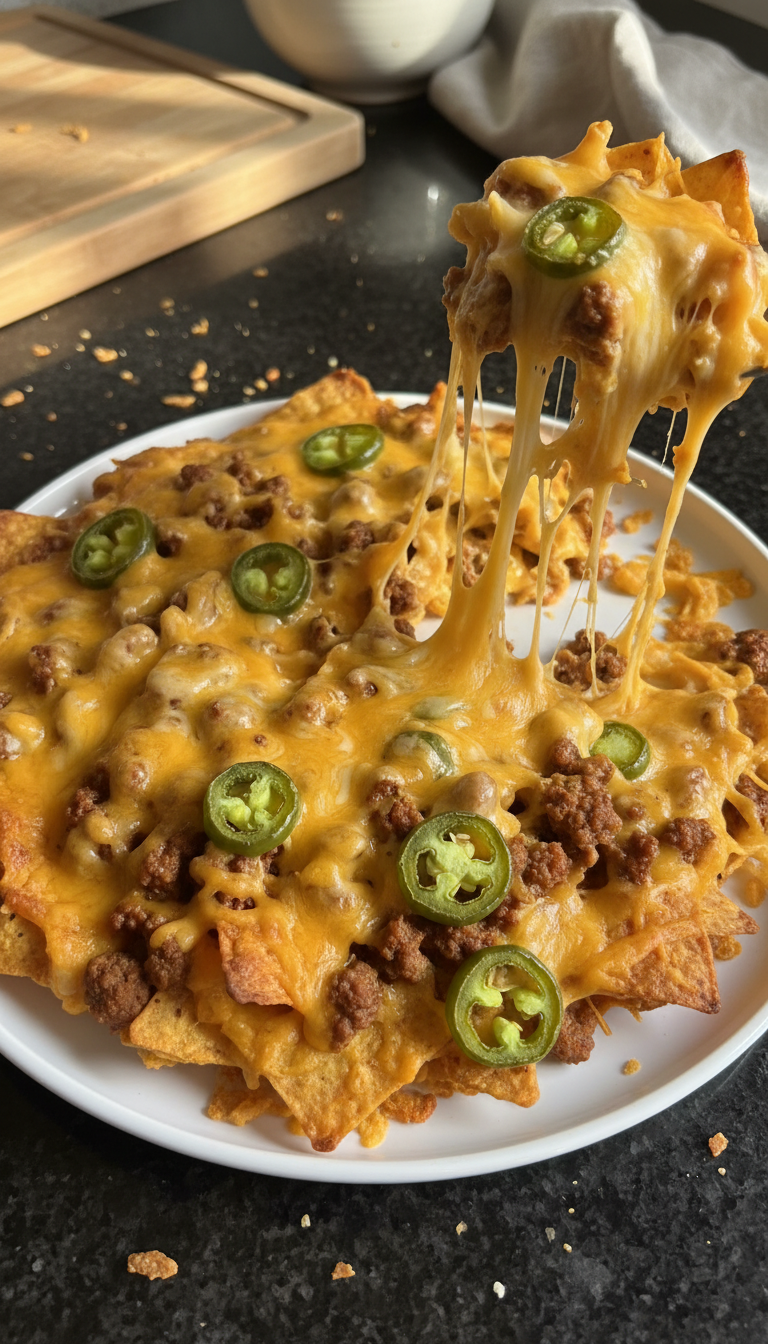
Chili Cheese Nacho Bake
Highlighted under: Ultimate Comfort Bites
I absolutely love how easy it is to whip up a comforting Chili Cheese Nacho Bake. Whenever I'm craving a savory dish that combines the rich flavors of chili and gooey cheese over crispy tortilla chips, this recipe hits the spot. It's perfect for game day gatherings or a cozy night in. I appreciate that I can customize the toppings, making it a versatile dish that pleases everyone at the table. This dish is not just about flavor, but also about bringing loved ones together to enjoy a hearty meal.
When I first made this Chili Cheese Nacho Bake, I was blown away by how quickly it came together. I love to sneak in a few extra spices to really enhance the flavor of the chili and complement the cheese. The combination of melted cheddar and creaminess from the sour cream creates a delicious layer over the crisp nachos, which is simply irresistible!
One little trick I've learned is to bake the nachos for a few minutes before adding the chili and cheese mixture. This helps them stay crispy even with all the toppings. It’s a small tip that makes a big difference and gives that extra crunch that everyone loves!
Why You'll Love This Recipe
- Layered with zesty chili and melted cheese.
- Perfect for sharing at parties or enjoying solo.
- Customization options for all taste preferences.
The Perfect Balance of Flavors
When creating your Chili Cheese Nacho Bake, the combination of flavors plays a crucial role. The zesty chili not only brings a savory depth, but its spices really elevate the dish. For those who love a little kick, feel free to enhance the chili with additional spices such as cumin or smoked paprika for an extra layer of warmth. I find that using high-quality canned chili without beans allows the other ingredients to shine through, ensuring that every bite remains perfectly balanced.
Cheese is king in this recipe, and I recommend using freshly shredded cheddar for the best melt and flavor. Pre-shredded cheese can have anti-clumping agents, which can affect melt quality. When sprinkling the cheese over the chili, aim for an even layer to ensure every chip gets that gooey cheese experience. And if you're feeling adventurous, try mixing in a bit of Monterey Jack for added creaminess.
Customization and Serving Suggestions
One of the best parts about this dish is its versatility. You can easily swap out the toppings depending on your preferences or what you have on hand. For a milder flavor profile, consider using a blend of bell peppers and olives. For those who enjoy a tangy finish, a drizzle of homemade salsa or guacamole on top can add a fresh touch. If you're hosting a gathering, set up a nacho bar so everyone can personalize their own portion, which creates an interactive dining experience.
If you're planning to prepare this dish in advance, assemble the components, but wait to bake until you're ready to serve. This way, you preserve the crispness of the tortilla chips and the freshness of the toppings. For leftovers, store any uneaten nachos in an airtight container, but be aware the chips may lose their crunch. To reheat, place them back in the oven at 350°F (175°C) for about 10 minutes or until the cheese is bubbling again.
Ingredients
Gather these ingredients to make a mouthwatering Chili Cheese Nacho Bake!
Ingredients
- 1 bag of tortilla chips
- 2 cups of shredded cheddar cheese
- 2 cups of canned chili (no beans)
- 1/2 cup of diced jalapeños (optional)
- 1/2 cup of sour cream
- 1/4 cup of green onions, chopped
With these ingredients ready, you're well on your way to a delicious meal!
Instructions
Follow these simple steps to create your Chili Cheese Nacho Bake:
Prepare the Base
Preheat your oven to 350°F (175°C). Spread tortilla chips evenly on a large baking sheet.
Add Chili and Cheese
Pour the canned chili over the tortilla chips, then sprinkle shredded cheddar cheese generously on top.
Bake the Nachos
Place the baking sheet in the preheated oven and bake for about 15-20 minutes, or until the cheese is melted and bubbly.
Garnish and Serve
Remove from the oven, top with diced jalapeños, sour cream, and chopped green onions. Serve immediately and enjoy!
Enjoy your warm, cheesy nacho bake straight from the oven!
Pro Tips
- For extra crunch, bake the tortilla chips for 5 minutes before adding toppings. You can switch up the cheese for a blend of your favorites!
Troubleshooting Common Issues
If your nachos come out too soggy, it often means the chili was poured too heavily over the chips or the baking time was too long. To prevent this, spoon the chili over the chips in sections rather than pouring it all at once, and keep an eye on them while baking. If the cheese hasn’t melted properly, a quick boost of oven heat can help; just broil for 1-2 minutes, but watch closely to avoid burning.
In case you accidentally overcooked the nachos and the chips are too crispy, don't worry! Try serving them with a side of salsa or cheese dip to revive the enjoyment. Alternatively, consider preparing a layered dip with cream cheese or refried beans to make it more enjoyable.
Make-Ahead Options
This Chili Cheese Nacho Bake can easily transform into a make-ahead masterpiece. Prepare the chili and toppings the day before, and store them separately in airtight containers. When you're ready to bake, layer the chips, chili, and cheese, then pop it in the oven. This method not only saves time but also allows the flavors of your chili to develop even further overnight.
If you're looking to freeze the dish for later use, assemble everything except for the tortilla chips. Layer it with chili and cheese, then cover tightly with foil. When you’re ready to eat it, allow it to thaw in the refrigerator overnight before baking. Just be sure to add the chips right before baking for that desired crunch.
Questions About Recipes
→ Can I use fresh chili instead of canned?
Absolutely! Fresh chili adds a unique flavor, just make sure it's cooked and seasoned well.
→ What toppings can I add?
Feel free to add toppings like olives, guacamole, or diced tomatoes for more flavor!
→ How do I store leftovers?
Store in an airtight container in the refrigerator for up to 3 days. Reheat in the oven for best results!
→ Can I make this dish vegetarian?
Yes, simply use a meat-free chili for a delicious vegetarian version!
Chili Cheese Nacho Bake
Created by: The Tinastastyrecipes Team
Recipe Type: Ultimate Comfort Bites
Skill Level: Easy
Final Quantity: 4 servings
What You'll Need
Ingredients
- 1 bag of tortilla chips
- 2 cups of shredded cheddar cheese
- 2 cups of canned chili (no beans)
- 1/2 cup of diced jalapeños (optional)
- 1/2 cup of sour cream
- 1/4 cup of green onions, chopped
How-To Steps
Preheat your oven to 350°F (175°C). Spread tortilla chips evenly on a large baking sheet.
Pour the canned chili over the tortilla chips, then sprinkle shredded cheddar cheese generously on top.
Place the baking sheet in the preheated oven and bake for about 15-20 minutes, or until the cheese is melted and bubbly.
Remove from the oven, top with diced jalapeños, sour cream, and chopped green onions. Serve immediately and enjoy!
Extra Tips
- For extra crunch, bake the tortilla chips for 5 minutes before adding toppings. You can switch up the cheese for a blend of your favorites!
Nutritional Breakdown (Per Serving)
- Calories: 420 kcal
- Total Fat: 24g
- Saturated Fat: 14g
- Cholesterol: 50mg
- Sodium: 820mg
- Total Carbohydrates: 38g
- Dietary Fiber: 3g
- Sugars: 2g
- Protein: 12g